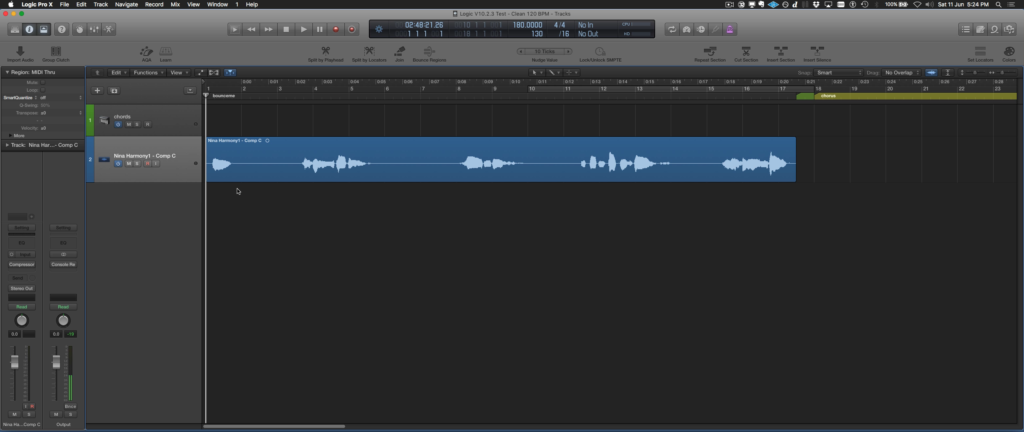
Yesterday I was tweaking some mixes on a project I’m working on. One of the tracks has been through several changes – including redoing it all at a different tempo and groove. Normally I’d just start again in a new Logic Pro X project and import any tracks we still wanted, but in this case we just appended the new tempo stuff at the end of the old version within the same project so we could copy across some textural stuff that wasn’t tempo-dependent, and also to be able to see the existing arrangement to speed things up.
As you can imagine, that project ended up being huge – over 6GB. Even using the “Folder” rather than “Package” save option was seeing some huge Logic project files, and I was up to version 13 of the song.
Save as Folder vs Save as Package. Every time you “Save-as” a project you can choose between these two options. The Folder option means it uses the old hierarchical project folder-based structure including an Audio folder that contains all of your audio. This option is good if you are doing multiple versions of the song – eg v1, v2, v3 etc (I do this every time I begin another session on the song) as only the project file itself is copied each time. If you do this with the Package option, it will copy all of the audio as well, taking up much more space on your drive. The default option is Package which seems to have come from GarageBand as it is more idiot-proof.
Opening the song was taking ages and using a lot of the computer’s RAM. Removing the original early part of the song helped somewhat, but it was still taking up a lot of space on my hard drive, as all that now-unused audio was still sitting in the project Audio folder.
Here’s the steps I followed to give me a smaller project folder for mixing:
1. Copy the full project onto an an external archive drive. (Make sure the entire original project and all its audio exists in at least two different places).
2. Open up the copied Logic project. This ensures that all the files can be found and have copied across successfully. If it has to look for audio files, jump to the later section about consolidating projects.
3. In Logic, click the Browsers button, then choose the Project tab. This should show all the audio files associated with your project.
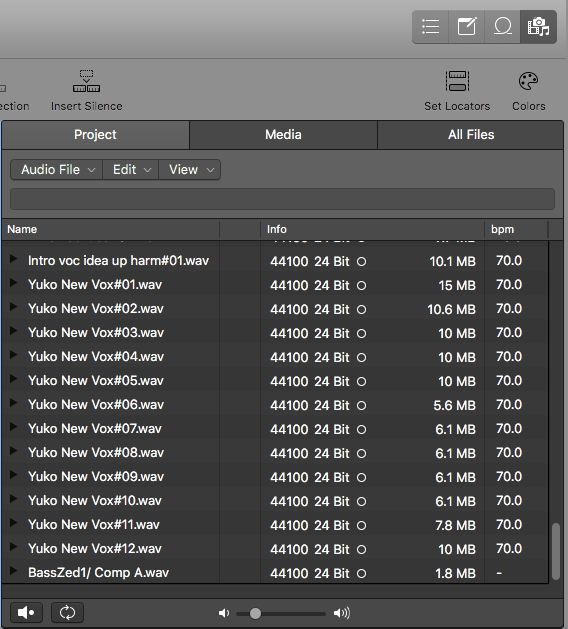 4. In the Project Audio tab use the menu Edit/Select Unused. This will highlight all audio that is no longer used in the project’s timeline. Hit the “Delete” key and this audio will be removed from the list. No it’s not deleted. It’s still sitting in the audio folder.
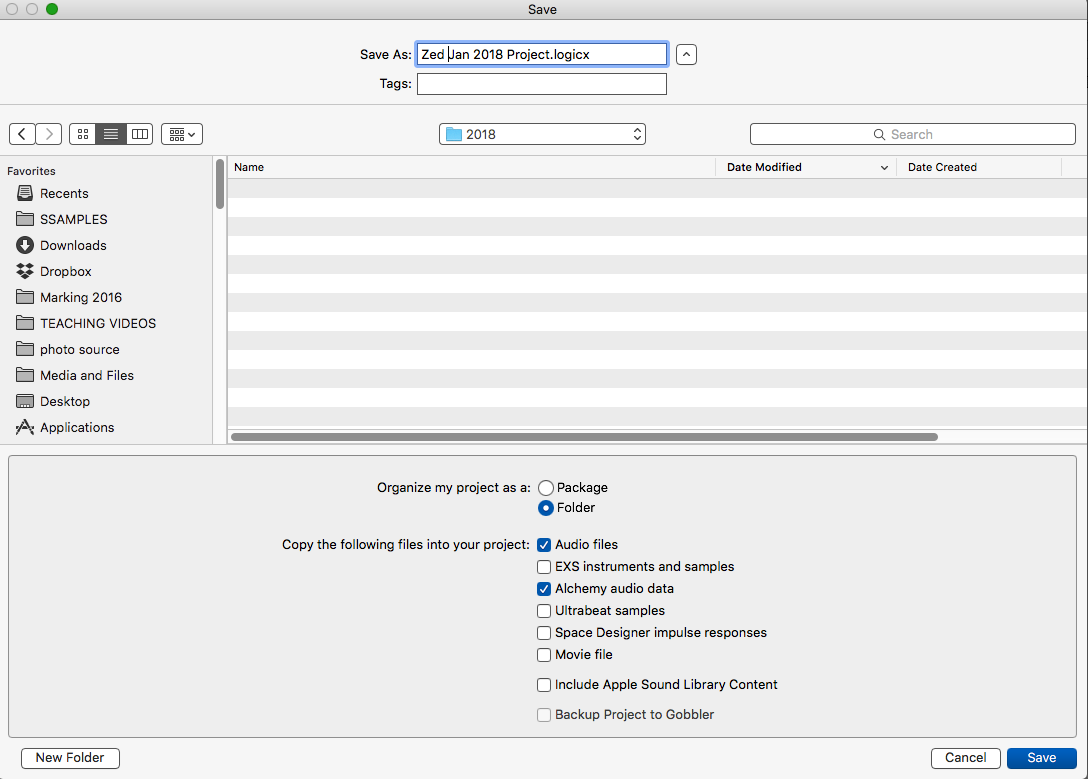
5. Now use the menu “File/Save a Copy As”. Make sure you tick (only) Audio files in the dialog at the bottom that says “Copy the following files into your project:”. Save to a different directory than the original project, otherwise it’ll just save back into the same folder and it will be really confusing and make most of the process useless. I recommend changing the project name slightly as well so you know this is a cleaned-up version. Now Logic will make a new copy of your entire project folder, but only with the audio that is actually being used. This should hopefully give you a smaller version of your project folder.
6. Delete the original version of the project (but don’t empty the Trash yet) and open up the new compacted version of your project to be sure it works. And yes you can tick save on the copied backup project closing dialog if you like.
If the new compacted project opens fine you’re good to go.
Misplaced Audio Files?
Logic has two audio file management options – it will either remember where they are on the drive or server and just read them from there (this can be good for large shared studio facilities with shared sound effects libraries for example), or it will copy them into the project’s Audio folder (or Media folder if you’re saving as a package). By the way – this is for files you add to Logic manually – any audio you record should go straight into the project’s Audio folder by default.
In most cases it’s safest to go with the “Copy” option, just in case the source files get moved around on the drive or deleted by accident. This can happen a lot if you’ve brought something in from your iTunes library for example.
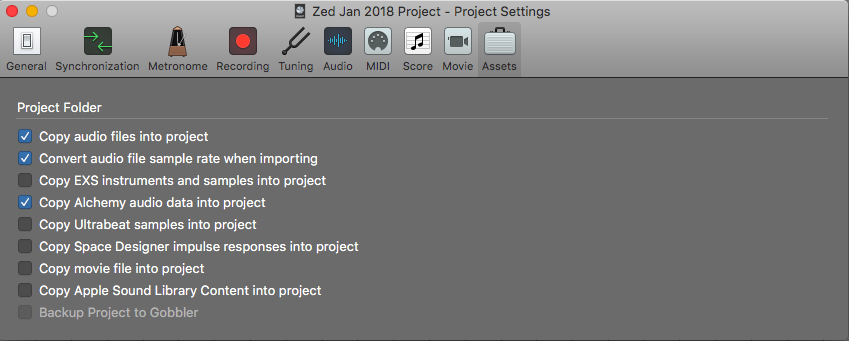
In saying that it’s good to copy imported audio files, you probably DON’T want to include any of Logic’s other standard library files unless there is a specific reason. For example, if you tick “Copy EXS instruments and samples” in the “Save” dialog box and then browse some grand piano patches, you’re going to fill up your project folder with huge amounts of piano samples pretty quickly. You can, however, leave “Copy Alchemy audio data” ticked, as it only copies imported audio, not library files.
So when you’re first saving your project and the Save dialog is open it’s good to ensure “Audio files” is selected by “Copy the following files into your project:” near the bottom.
If you forgot to check it, you can do it at any time under File/Project Settings/Assets as well. This will only work from that point on though, so if there are already some misplaced audio files, then you need to force Logic to collect them from wherever else they are on the drive/server.
In this case go to File/Project Management/Consolidate. Just make sure Copy audio files is ticked and hit “OK”.
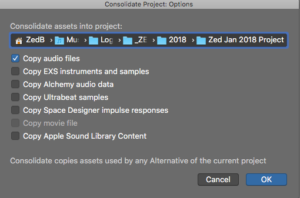
Logic will now copy any externally-referenced audio into the project folder. Save!